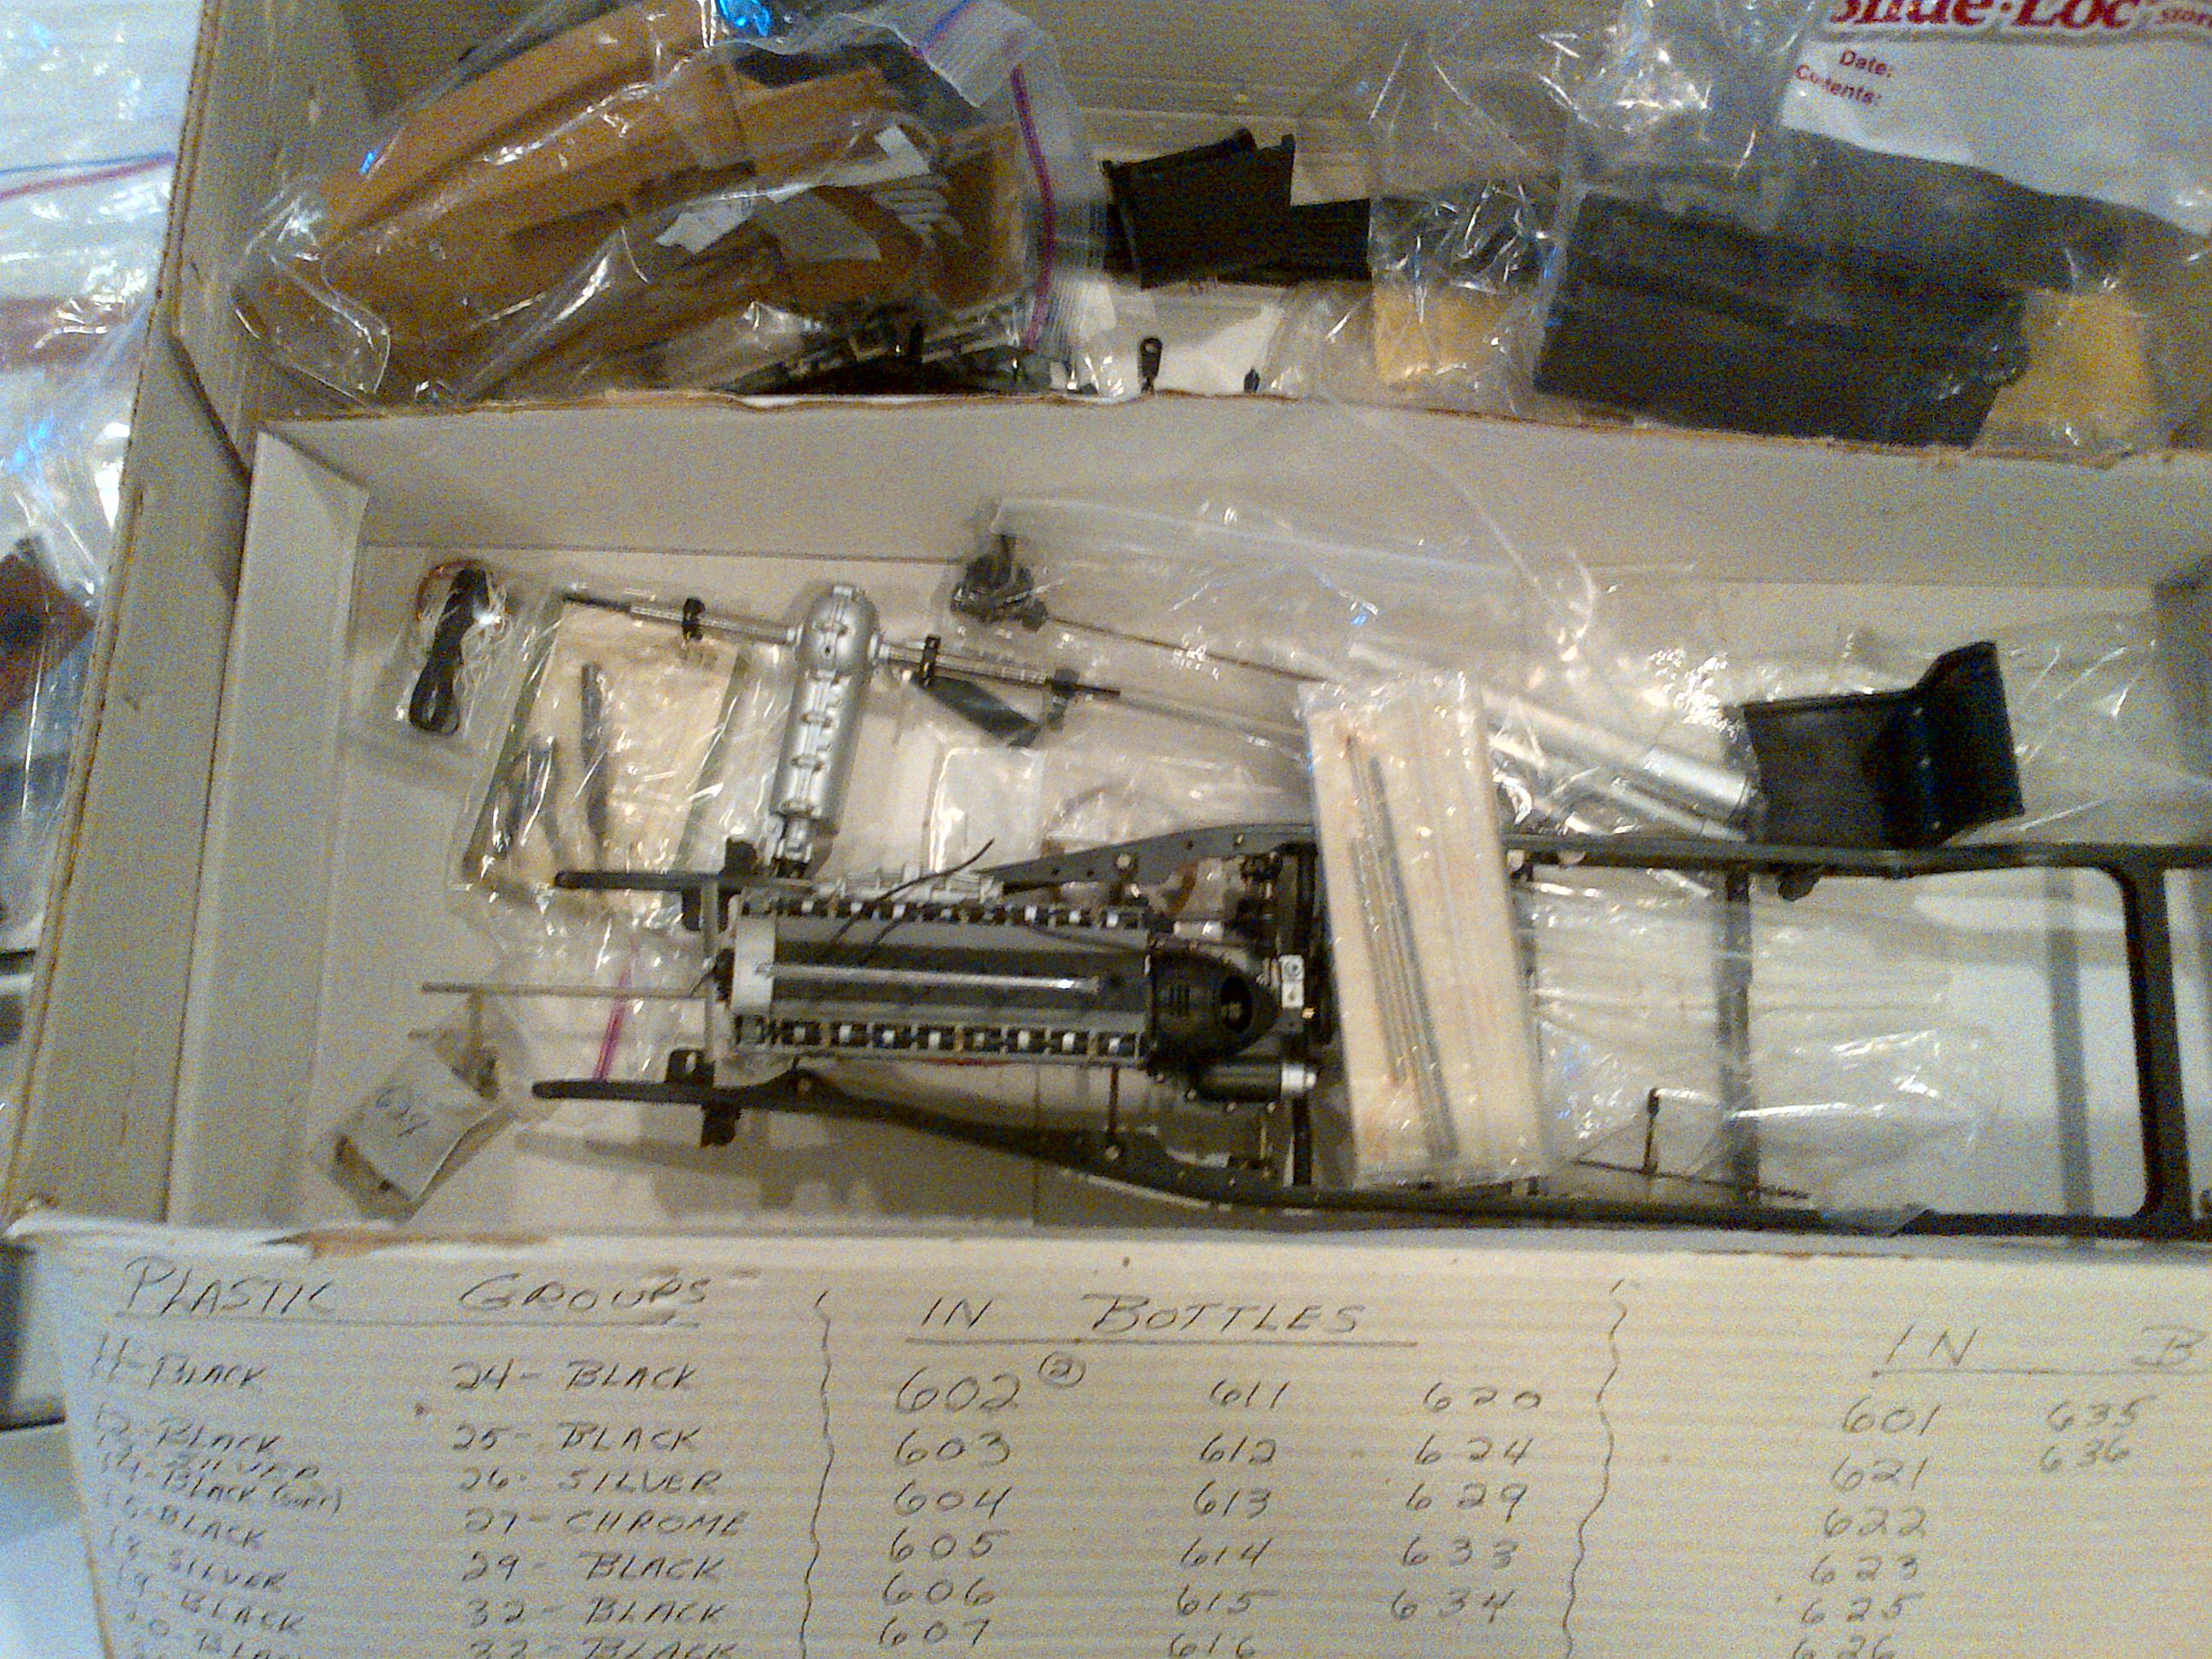
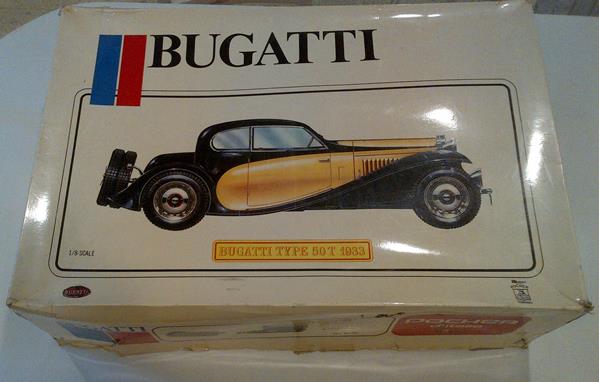
What can you do with the thousands of partially assembled Pocher models out there? I’ve had a fairly complete, partially assembled, original K76 Bugatti stashed away from several years now for “my own collection” and recently had the chance to sell it to someone who’s ready to build it right away. Since I want to make sure my client gets a complete kit, I decided to carefully unpack the parts, disassemble some of the components, and verify that all the parts are there.
Having built certainly more than ten of these wonderful Bugattis, I think I am in a good position to go through a kit like this, dismantle it enough so a new builder can have fun rebuilding the model, but not endanger some of the more delicate components. As with all Pocher Classics, some of the parts are quite sturdy while others must be dealt with very carefully. Once broken, they are difficult to fix.
If you find one of these partially built kits, I suggest you follow these simple rules:
Make sure there’s no paint and no glue on the build.
- Check for the major components as they are difficult to reproduce. One thing about plastic models, as compared to, say, wood ship kits, is that the parts are not drawn to scale. Rebuilding a part from scratch means doing more research than what is available in a kit. >/li>
- Plan to buy a few parts from aftermarket vendors such as www.pocherparts.com or www.modelmotorcars.com .
| OK, on to the dismantling. This post is specifically related to a particular Bugatti kit but the remarks will be the same for any Bugatti. Having seen many partial builds over the years, I can say that the comments here should be the same for 90% of Bugattis. The post is also directed at a specific client so I will write as if I am writing an email. However, I am happy to respond to any questions about this, or other, dismantling projects. if you want to follow along, you may want to have a look at the pages on this site:www.pocher.net |
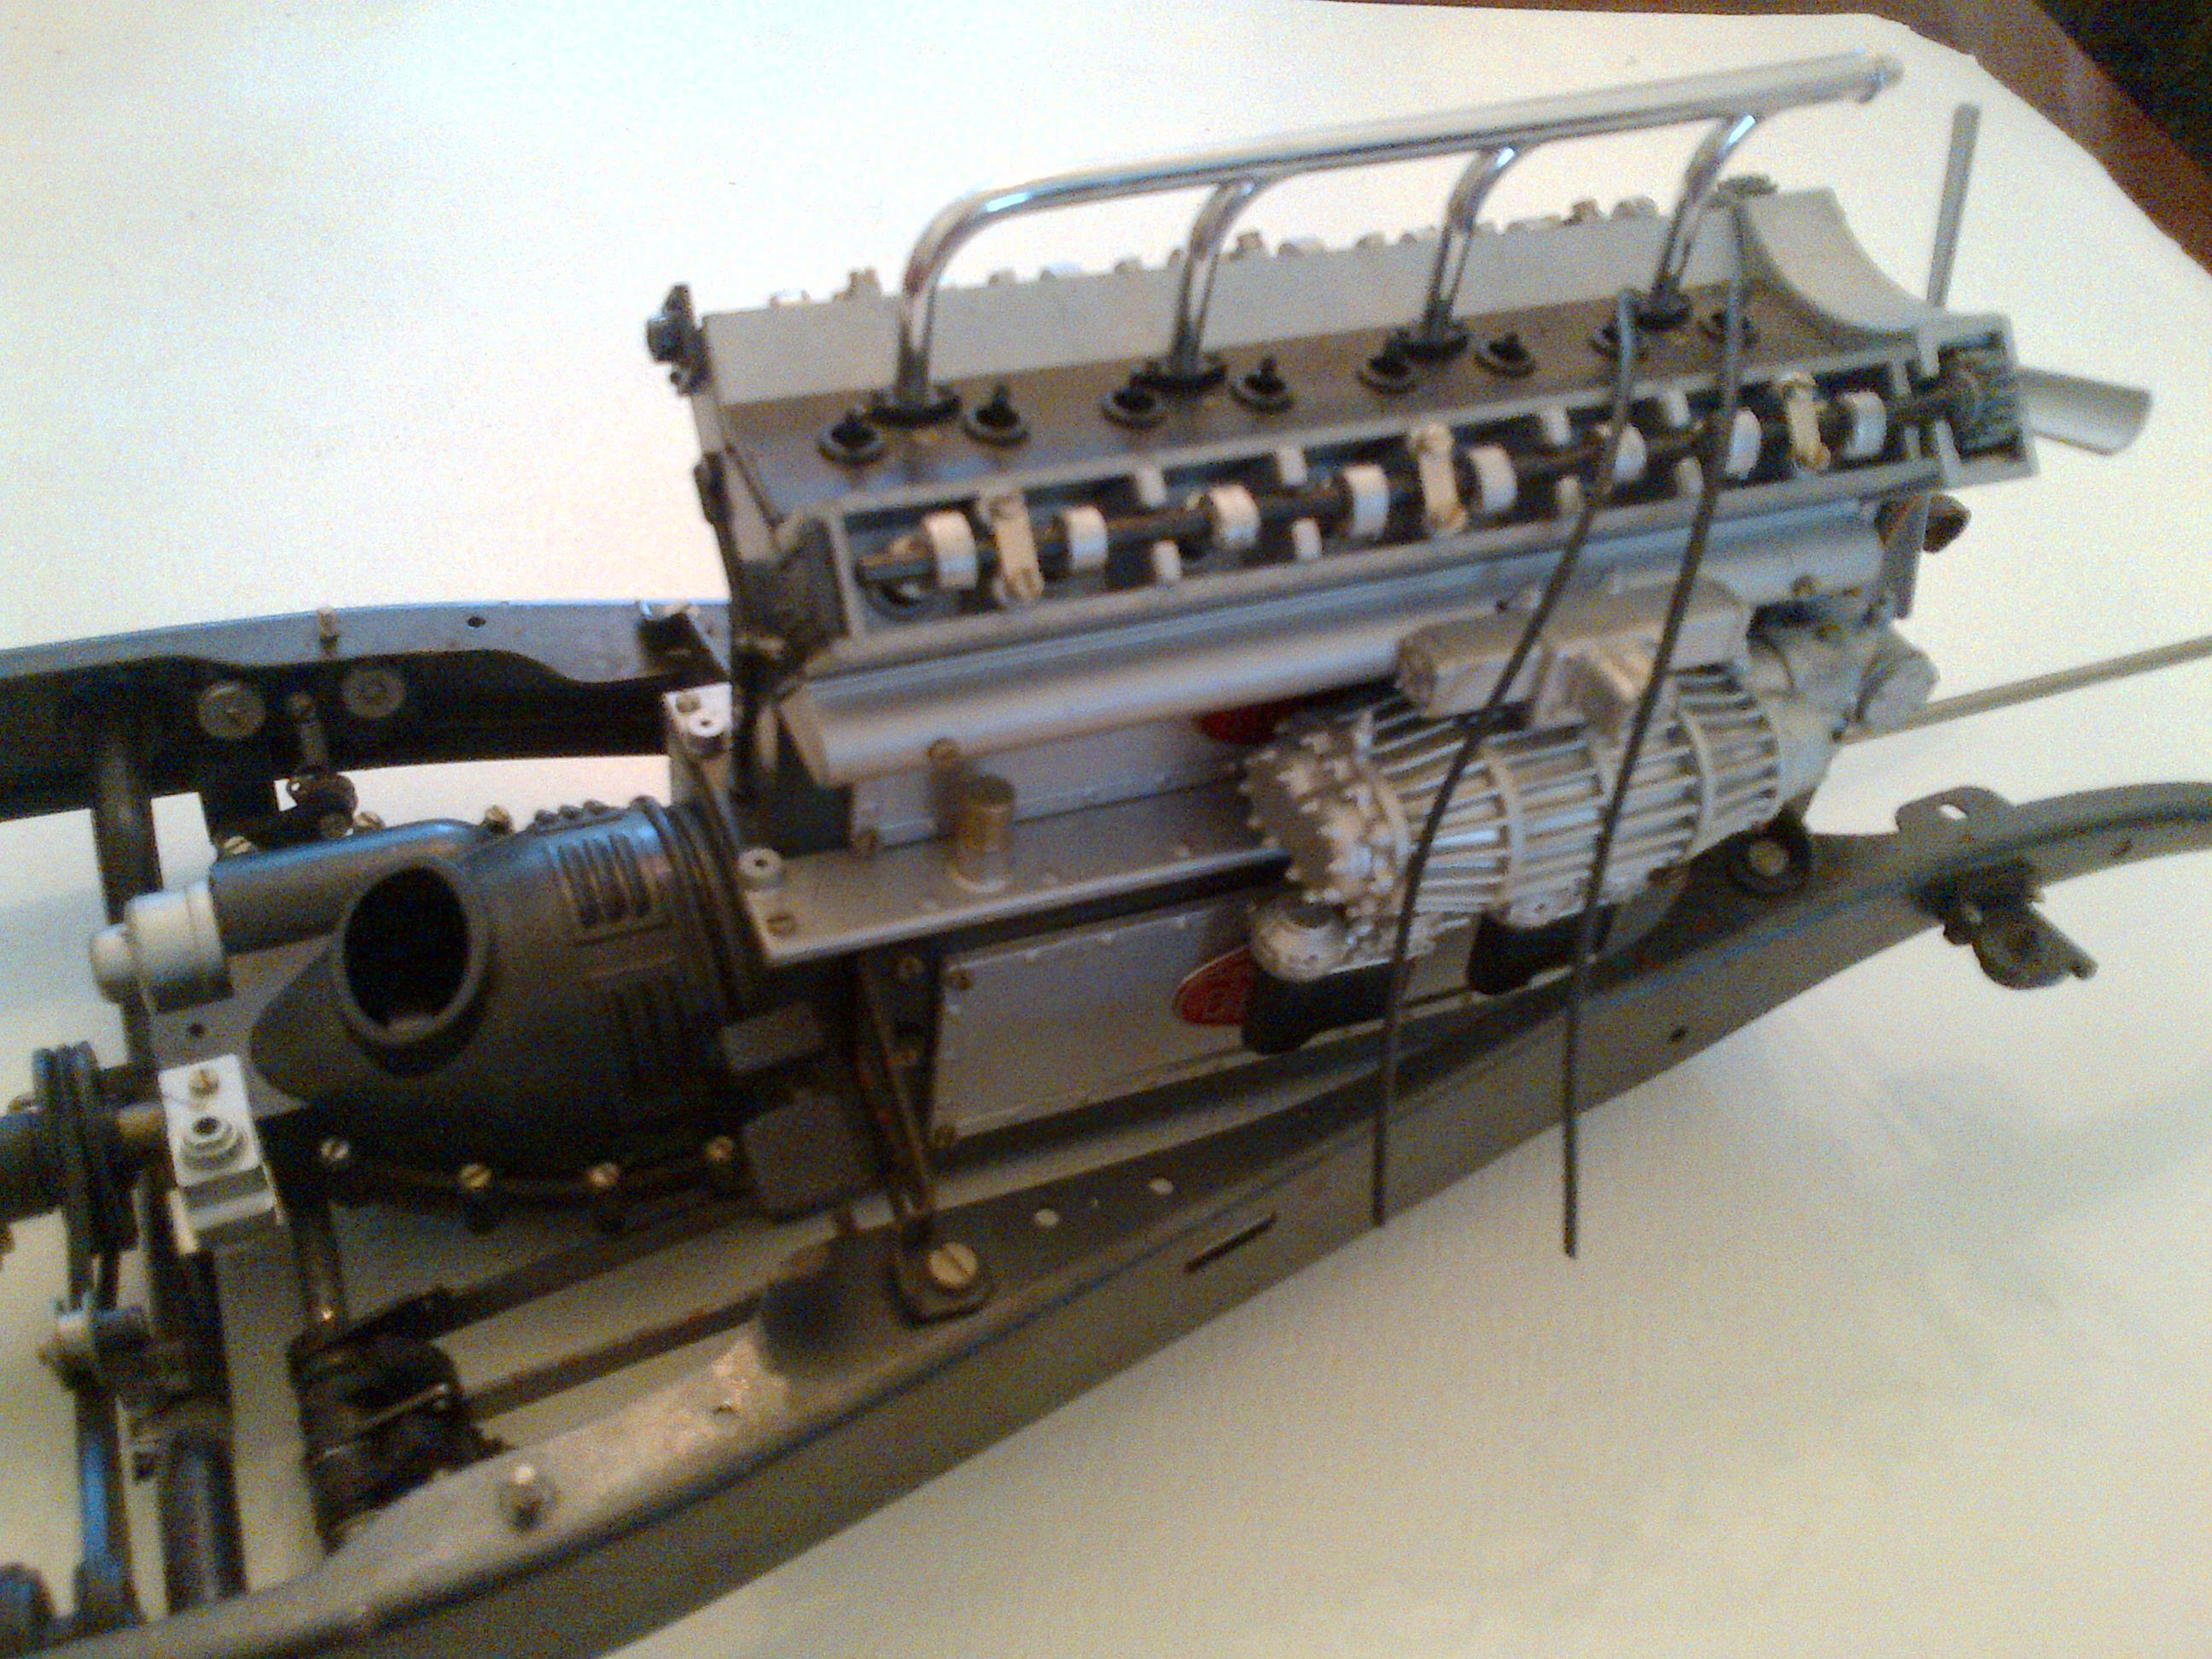
Removing the Engine from the Chassis
|
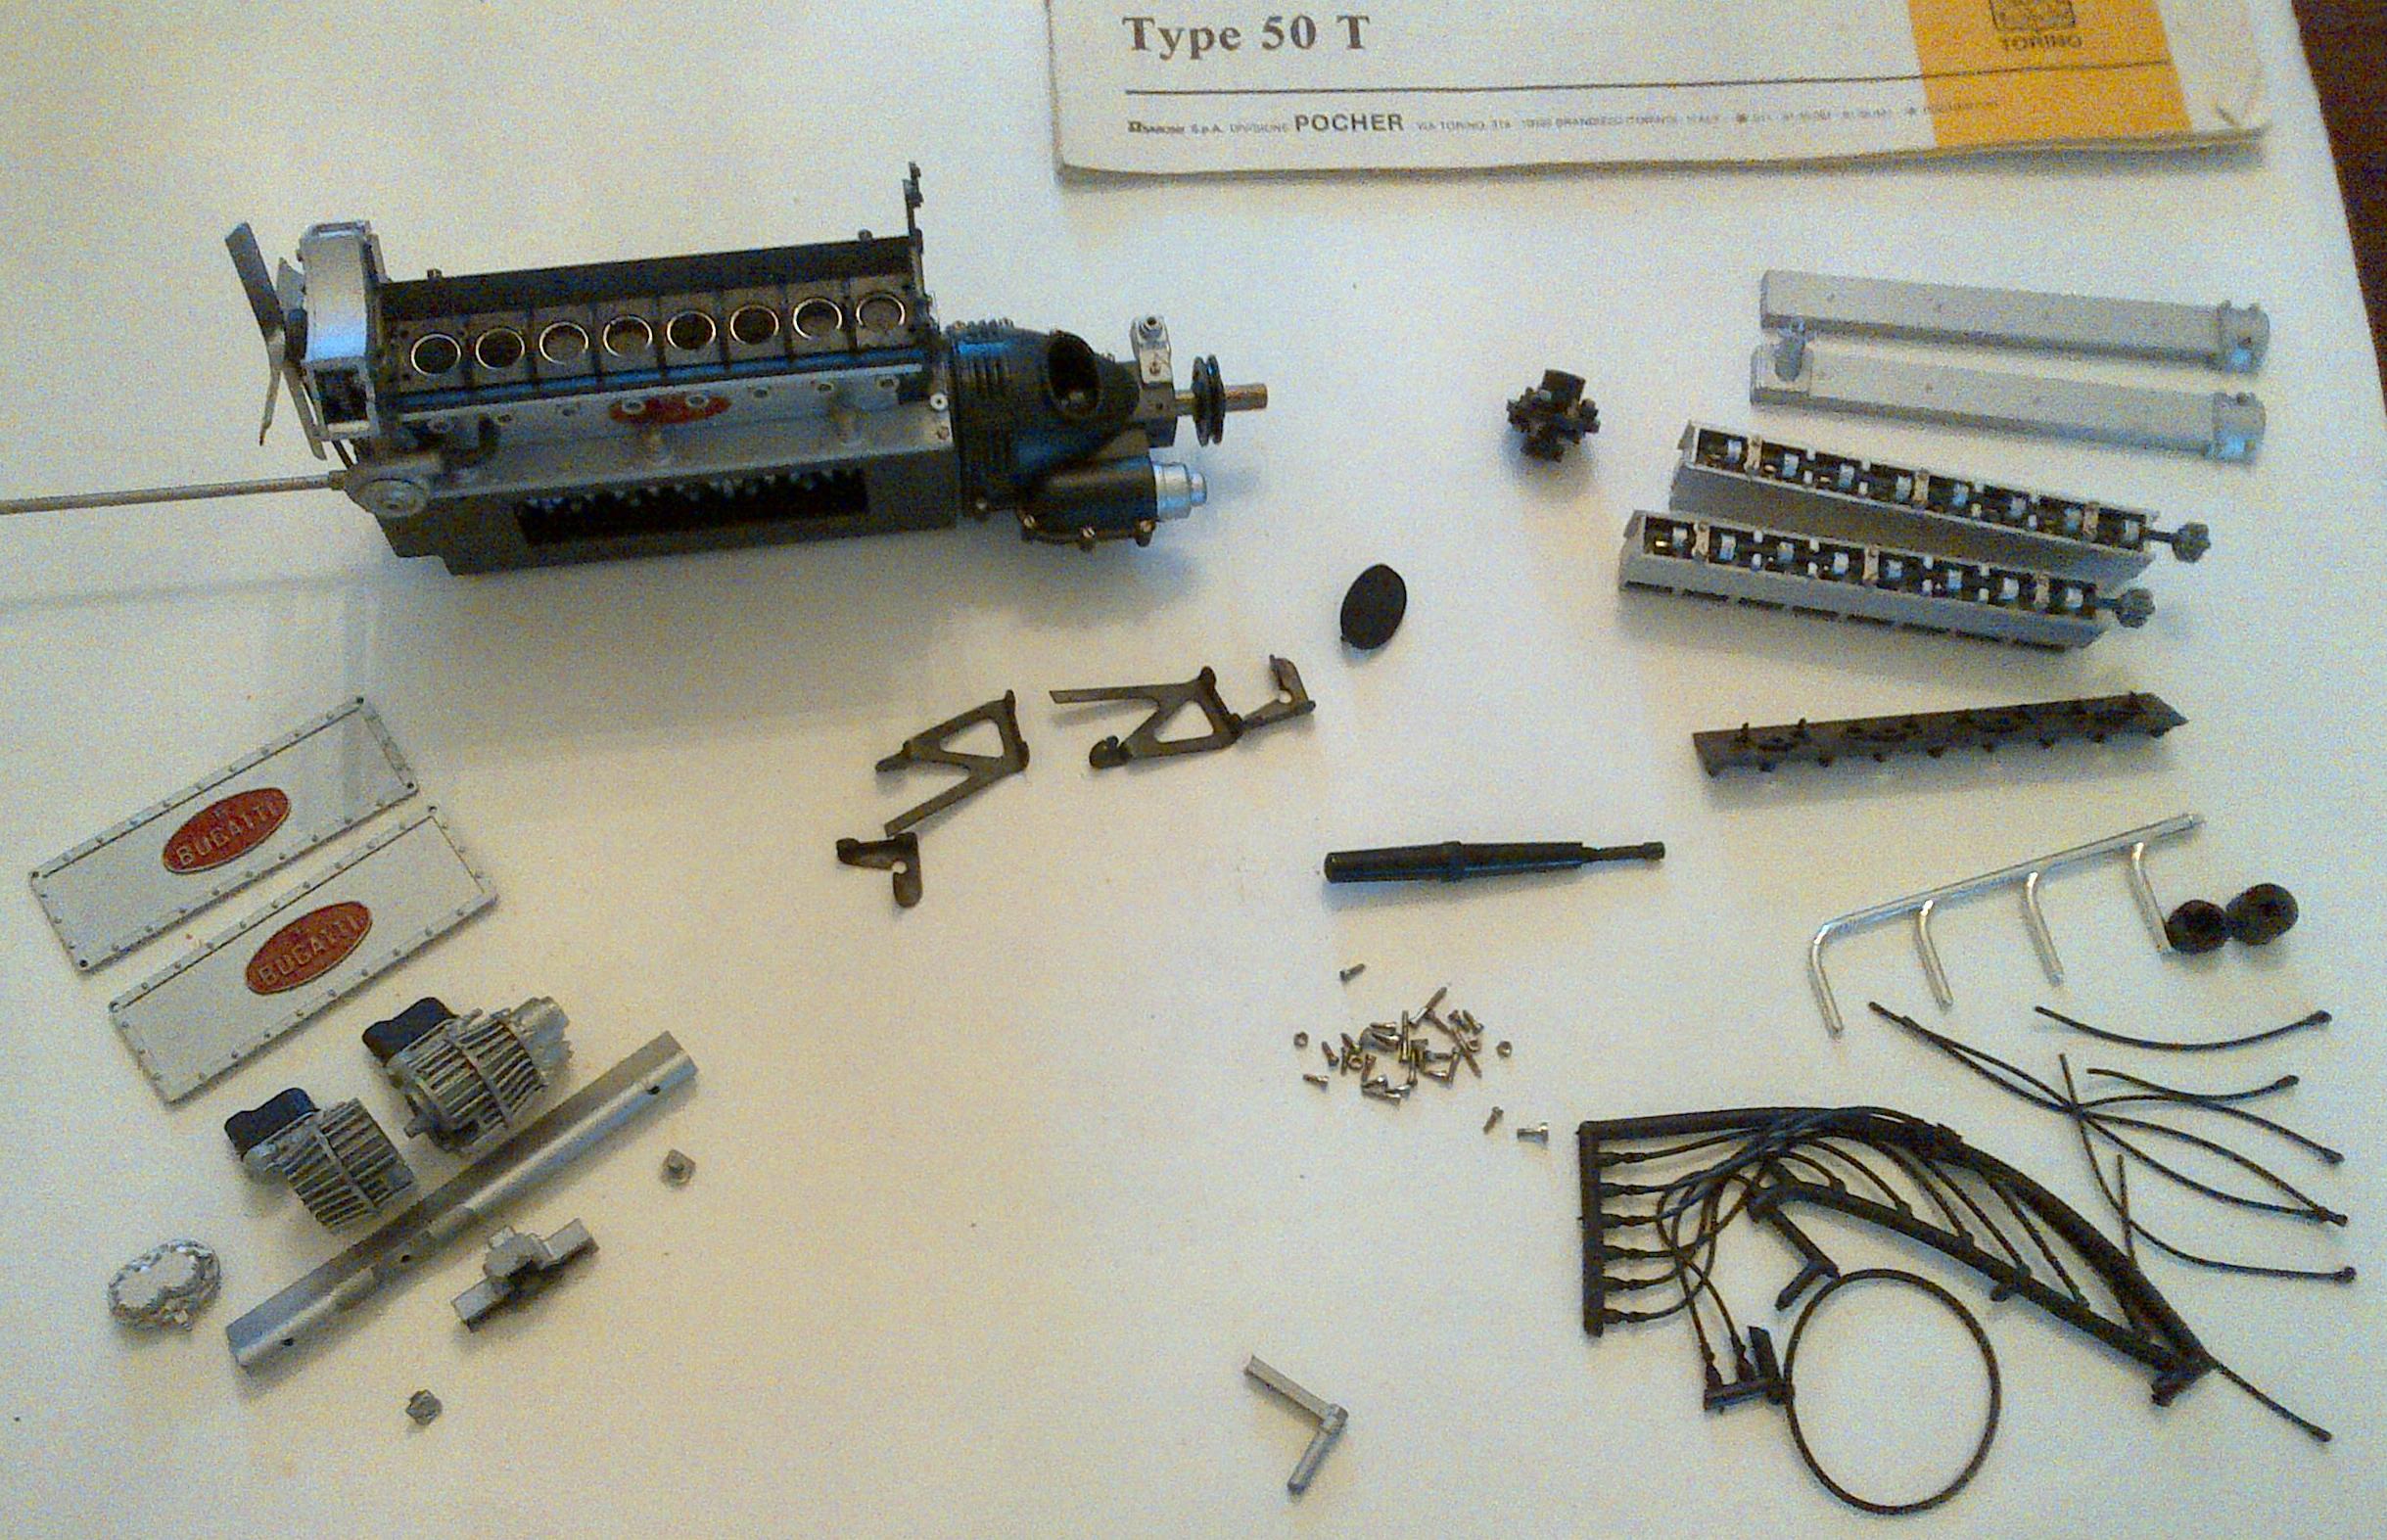
| I found the engine to be quite well built and seemed to have all the parts properly assembled. I took the engine out of the chassis and removed a few of the major outer appliances and components in case you want to repaint them or add some detail. I found the engine to be quite well built and it will be a difficult choice whether to put this one back in the chassis or start with the fresh one I will send you. |
|
As you dismantle the model, you should keep in mind that the gray plastic is very brittle and will break if you put too much effort screwing parts together and the black plastic is extremely hard and will break off the screw heads. In both cases, it is wise to drill holes out carefully wherever possible instead of using screws to do the work for you.
Looking at the engine, you will notice the side panels have tiny holes drilled right in the corners. Be very careful as you reattach these parts to the built engine. The tendency for some of those corners to crack is very high. It’s not a big deal if they do crack because they will not actually break off but it makes you nervous to see those cracks. This will be the same advice for a new engine. Even with the newest kits, the grey plastic is brittle and those panels are thin. Apart from the panels, another delicate job is installing the valve cam holders in step 9. Notice those little metal parts 760770 are attached into some grey plastic. Again, these are delicate and, in fact, these are a little more important than the panel pieces as there is some pressure and movement there later.
|
| With the engine out of the chassis, I removed a couple of the side panels and checked the crankshaft and the valves. Everything is operating beautifully so I left things the way they were. Again, since you are getting a new engine, you will have plenty of fun putting that one together. There’s no need to dismantle this more than I’ve done. On the other hand, I did notice that the ignition cables had been attached and then removed. Since I wasn’t sure about their lengths, I added a spare vinyl tree I had sitting around. |
|
|
As I took this model apart, I realized that one of the most frustrating bits of assembly in any Pocher build I’ve done is attaching the engine to the frames on these Bugattis. However, as I took this one apart I asked myself whether my usual order of assembly was wrong and whether we couldn’t do this more easily in another order. In the instructions, Pocher suggests attaching the engine mounts at step 11 (see the link above and go to page 20 of that website). However, as I took the model apart, it occurred to me that you might be able to attach the mounts to the frames first and then attach the engine to the mounts. I recommend trying that. If it works, please let me know because it will shave hours off the assembly. Getting those screws inside the frames, with the engine in place is, really, an exercise in patience.
I do not recommend dismantling more of the engine than what I have done but one could remove the flywheel housing and repaint that in a lighter color. This should be done with care but the bolts holding this part together should come apart easily enough. One could also remove the oil pan to have a look at the crankshaft but I certainly do not recommend removing the crankshaft itself. This would entail removing more parts at the back and the front of the engine and now you’d be increasing the risk of breakage considerably. It’s better to keep your enthusiasm for the body. |
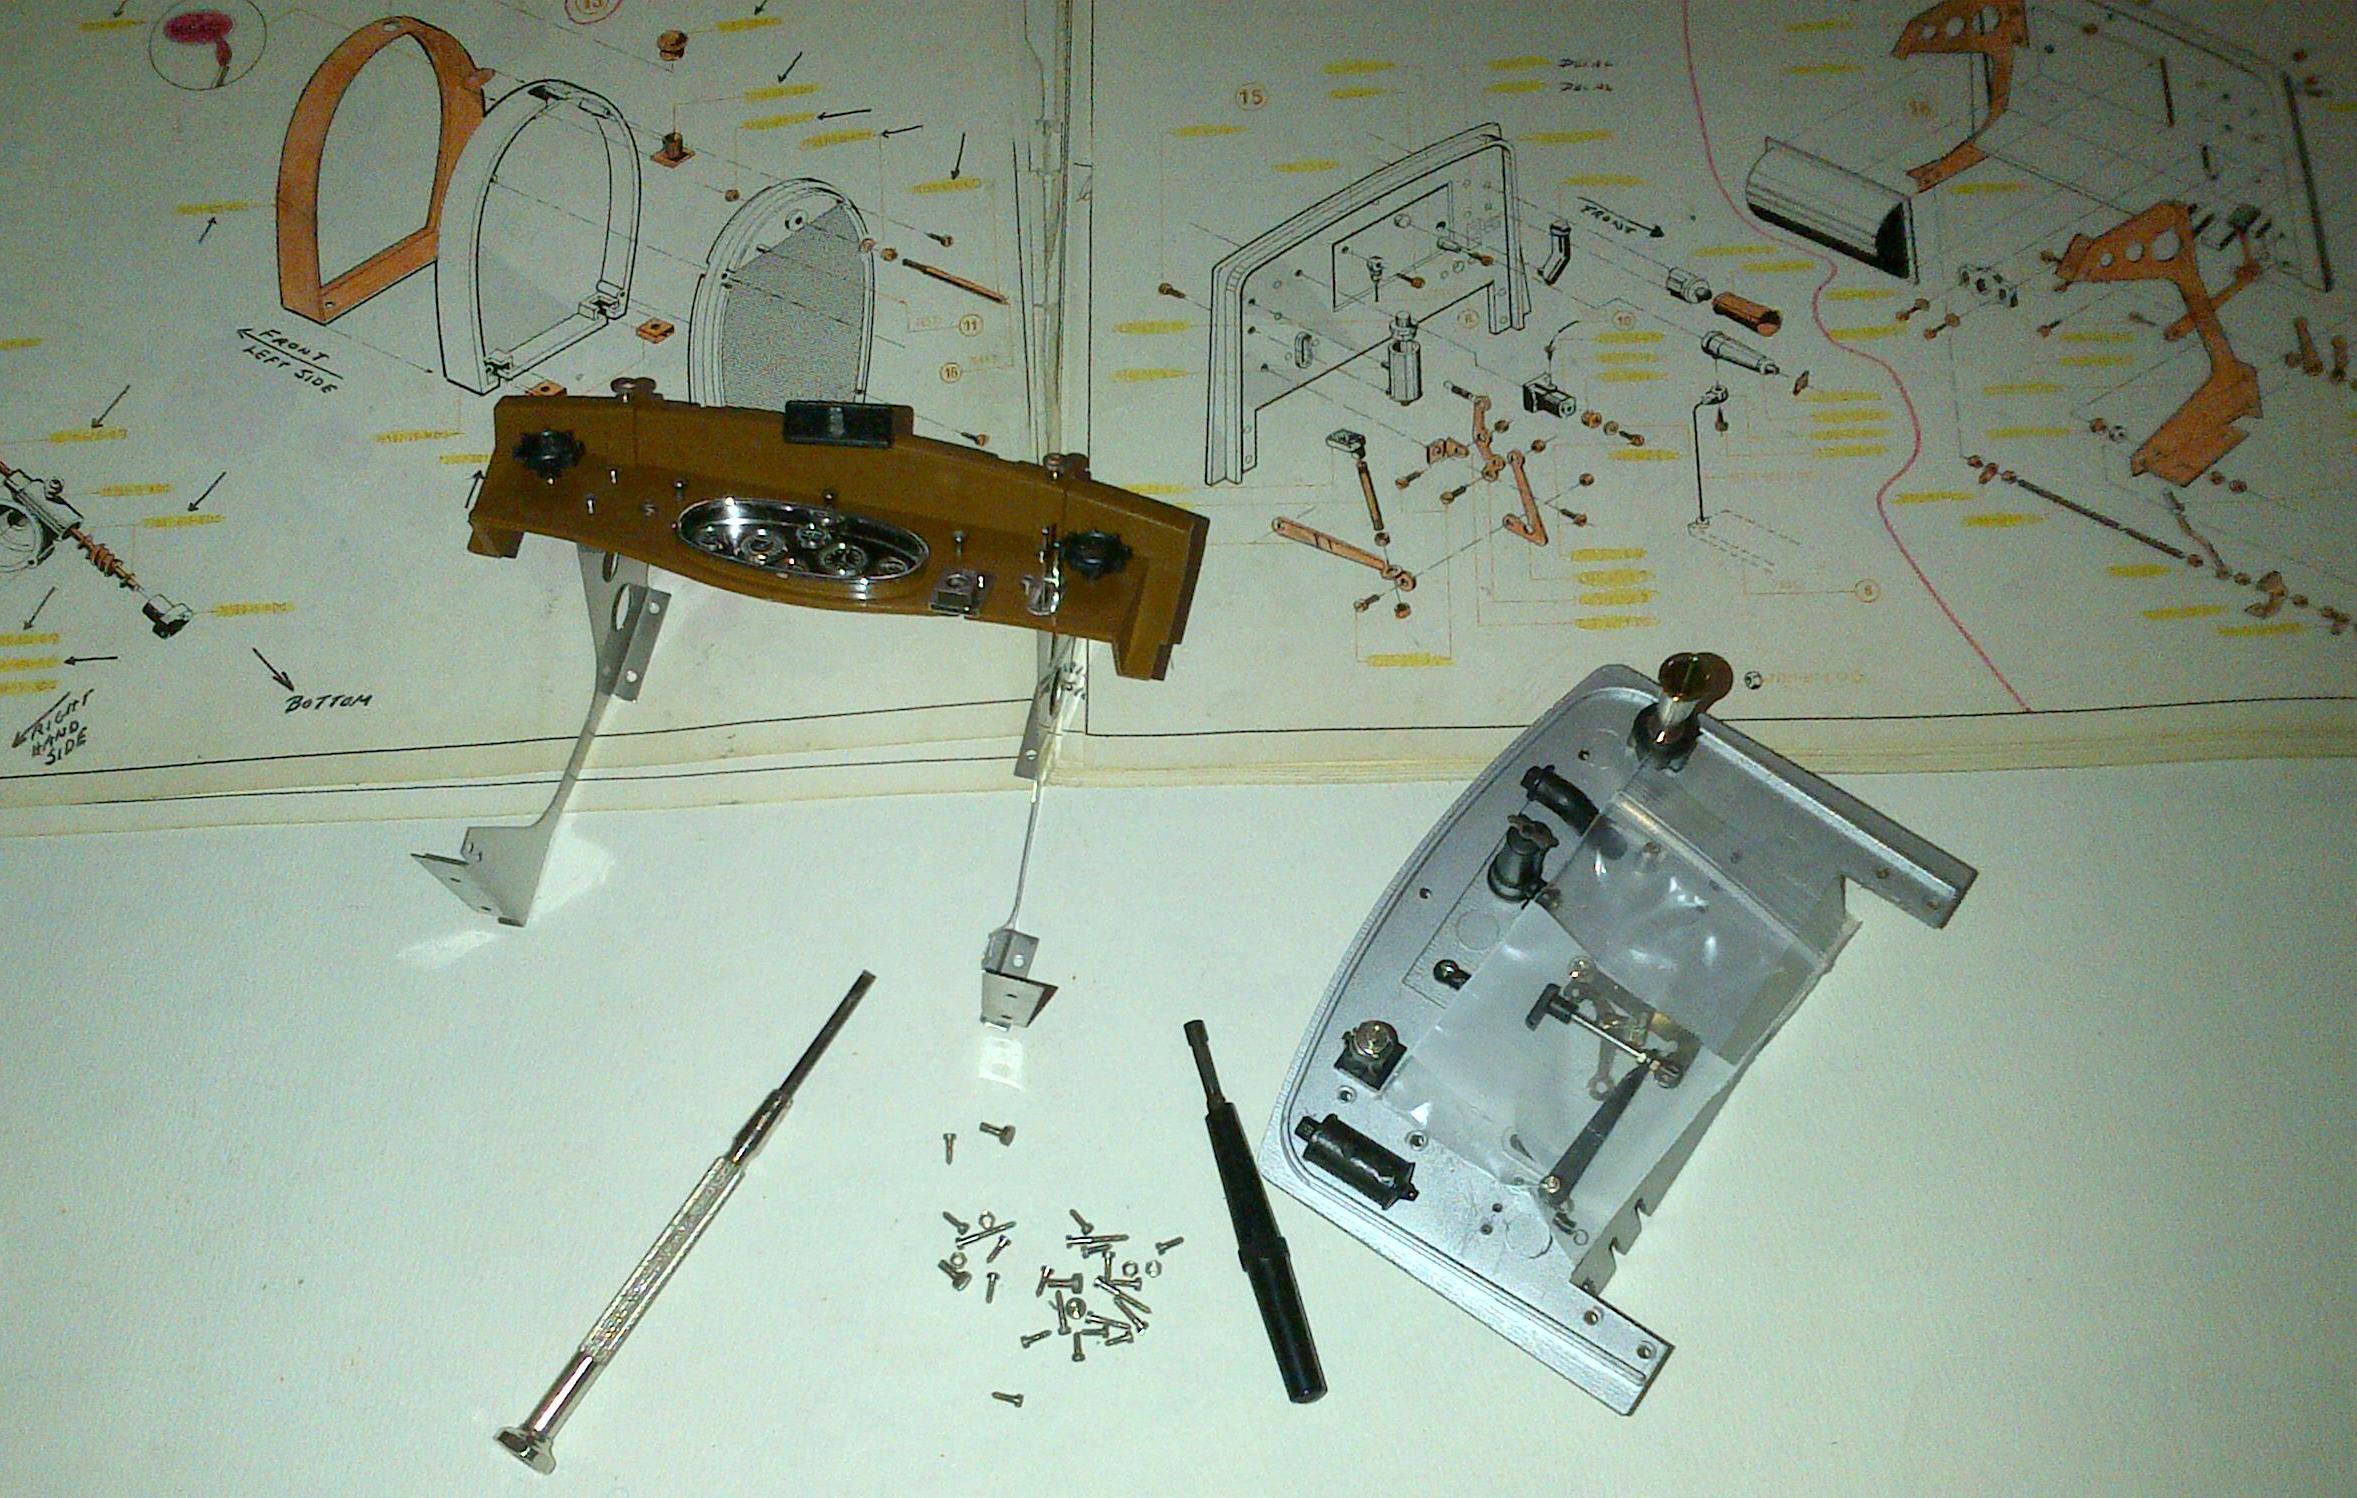
Firewall and DashboardThe only complication here is that the decal sheet was started and there’s a decal that was used to surround two small shift sticks on the right side of the dash. if you wanted to rebuild the dash using wood, you’d have to figure something out for that. I suppose any nice edge would work but using some chrome strip would be best. Also, the firewall can be disassembled further if you wanted to clean it up some more. As my work was based on making sure the model was complete I did not dismantle more than I needed to to make the survey. |
|
|
| Looking at the picture more carefully, I suppose many of the appliances can use some cleanup and a touch of paint. It might be fun to take everything off and clean the firewall itself, as well. |
RadiatorConsidering this is a very early kit, the nickle plaiting on all the parts is absolutely perfect. This is the best nickle plaiting I’ve ever seen on a Pocher model. Sadly, the fellow who started to build the kit assembled the radiator and seemed to have forgotten to attach the rod that goes across the top of the engine. Perhaps he got angry, perhaps he got frustrated, perhaps he plays golf this way, but, whatever it is, he bent the lovely original rod in half! I have replaced it with one from another kit but the nickel plaiting was is not as nice. This rod can be replaced with different ideas as it is supposed to represent the engine loom and this was a hollow rod through which the ignition wires would have passed. It is up to the modeller, then, to do what he wants with this part. A hollow loom would be more accurate but it would involve making some parts. Please go to Part II to get the rest of this posting. |