|
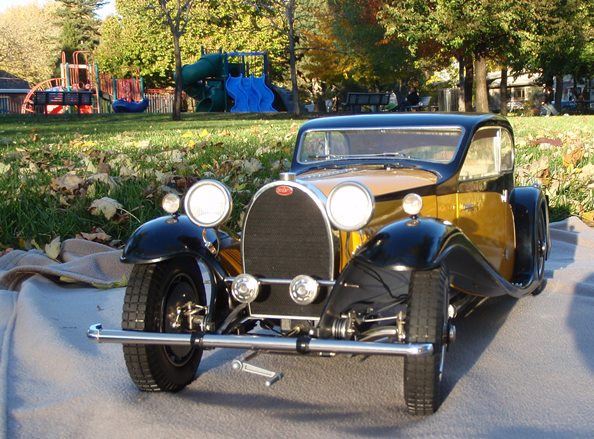
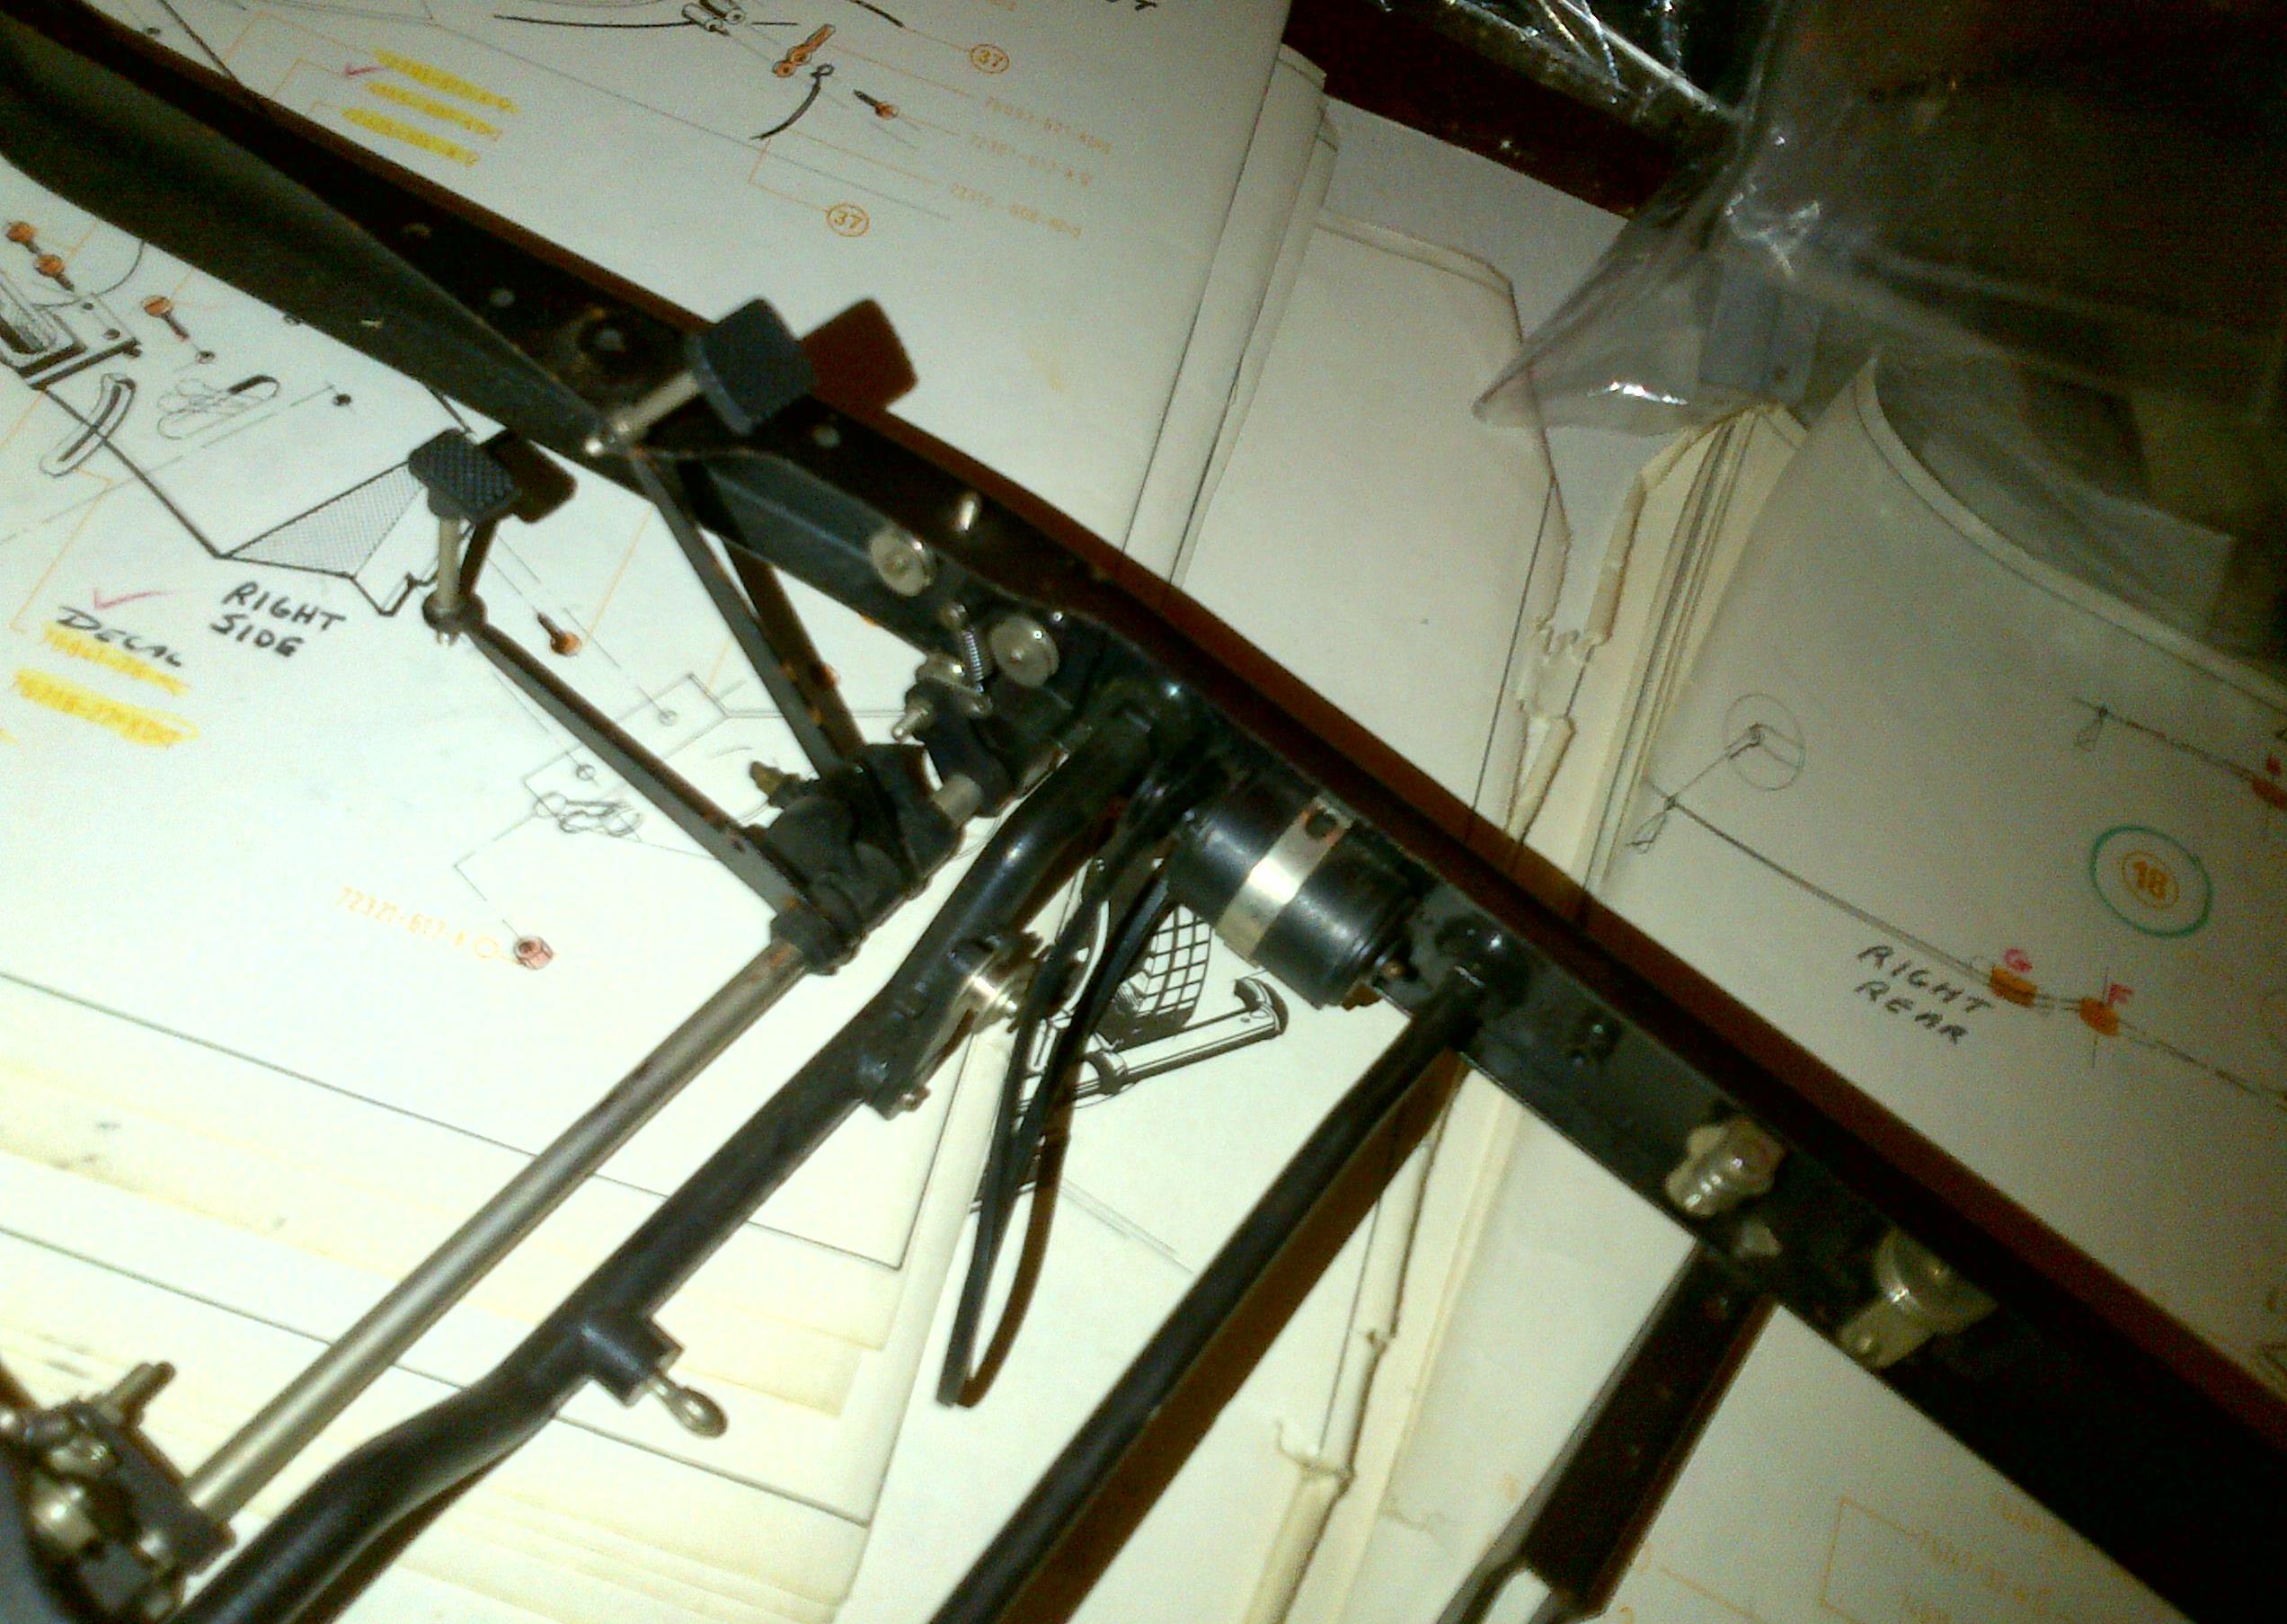
At this point we have removed the engine from the chassis, have double-checked the radiator and the firewall, and are ready to have a good look at the chassis. it seems the chassis is well built but I found a couple of parts missing and one broken part from the 621 photo-etch tree. I highly recommend that you not dismantle this chassis further for a number of reasons. First, the black parts are very hard and they may cause the screws to break off as you try and loosen them. The black parts include the inserts that are connected to the insides of the frames. Unfortunately, they also include the lovely brake cylinders that should have been painted a lighter color, so they show a little on the chassis. By leaving them black, the original modeller has lost an opportunity. |
||
|
|
||
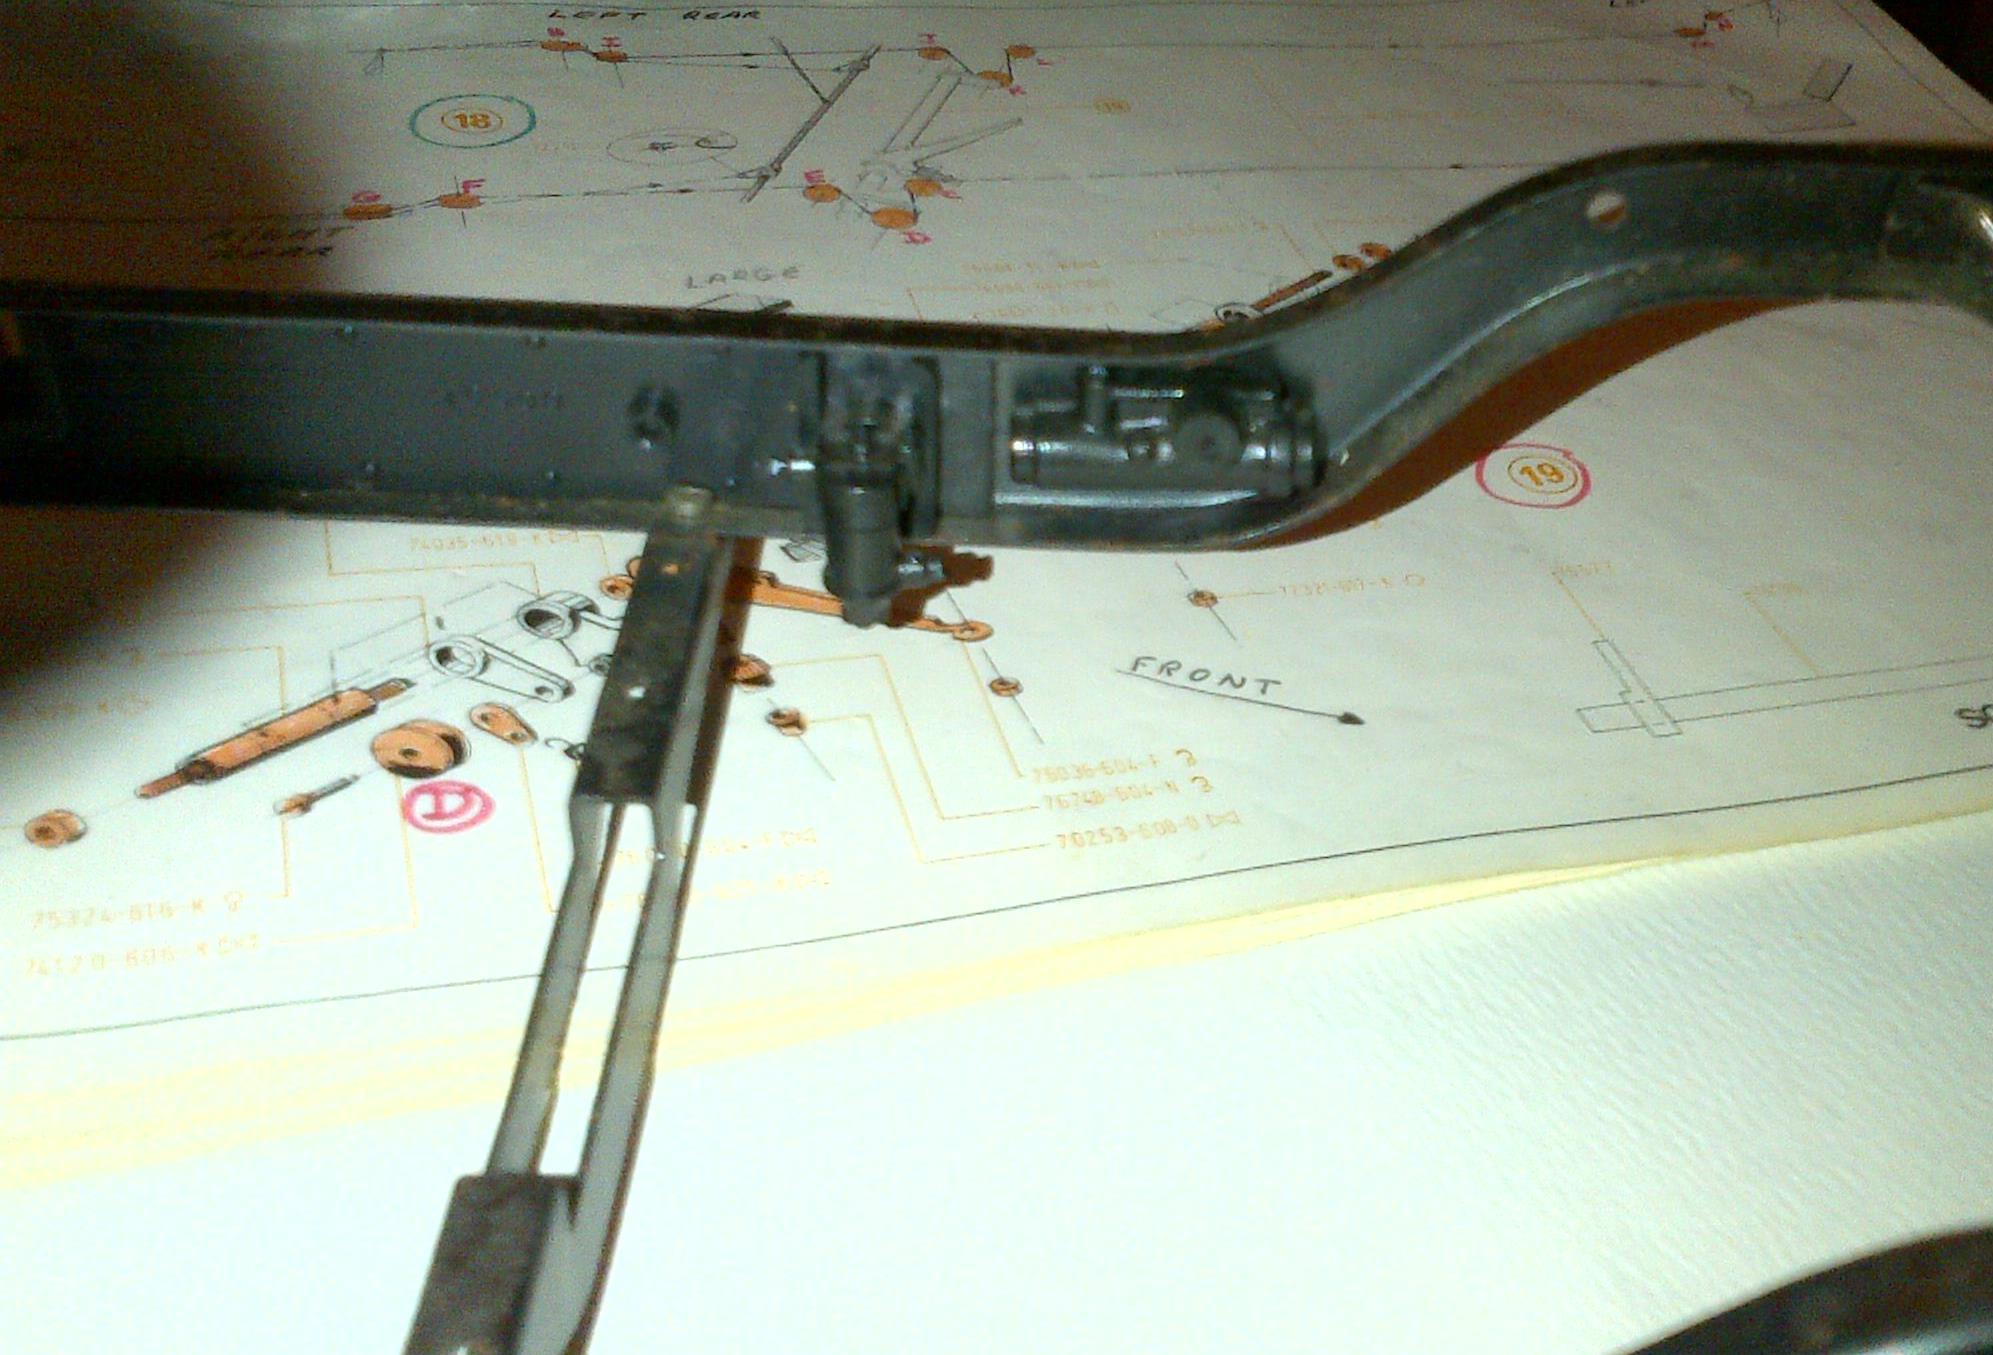
The PedalsThere are a couple of toothed parts that hold one of the pedals in place. I’ve never been able to get those parts to stay together with the just the friction of the parts on the rod that they are placed on. I have always installed a small 2mm threaded rod across the two parts in order to squeeze the brake pedal tightly. Since these parts are already installed, it would be quite a big job to get those out of there to do that. Perhaps you can find a different way of keeping those parts tight. Let me know. You’ll see what I mean when you get there. Be very careful when re-installing the belt between the generator and the drive shaft. After all these years, that belt may have become brittle. I was able to remove it easily enough but you should put it back on with some care. At this point you will also note all those lovely gears inside the chassis. Please do not remove those. As they are connected with 621 parts, they are susceptible to breakage. I was very unimpressed with the 621 parts and have spent much time and money replacing those in other models. I don’t think Pocher knew how to make photo-etch parts when they made these kits. I do not have any spares. |
||
| ||
Broken 621 Parts |
||
|
||
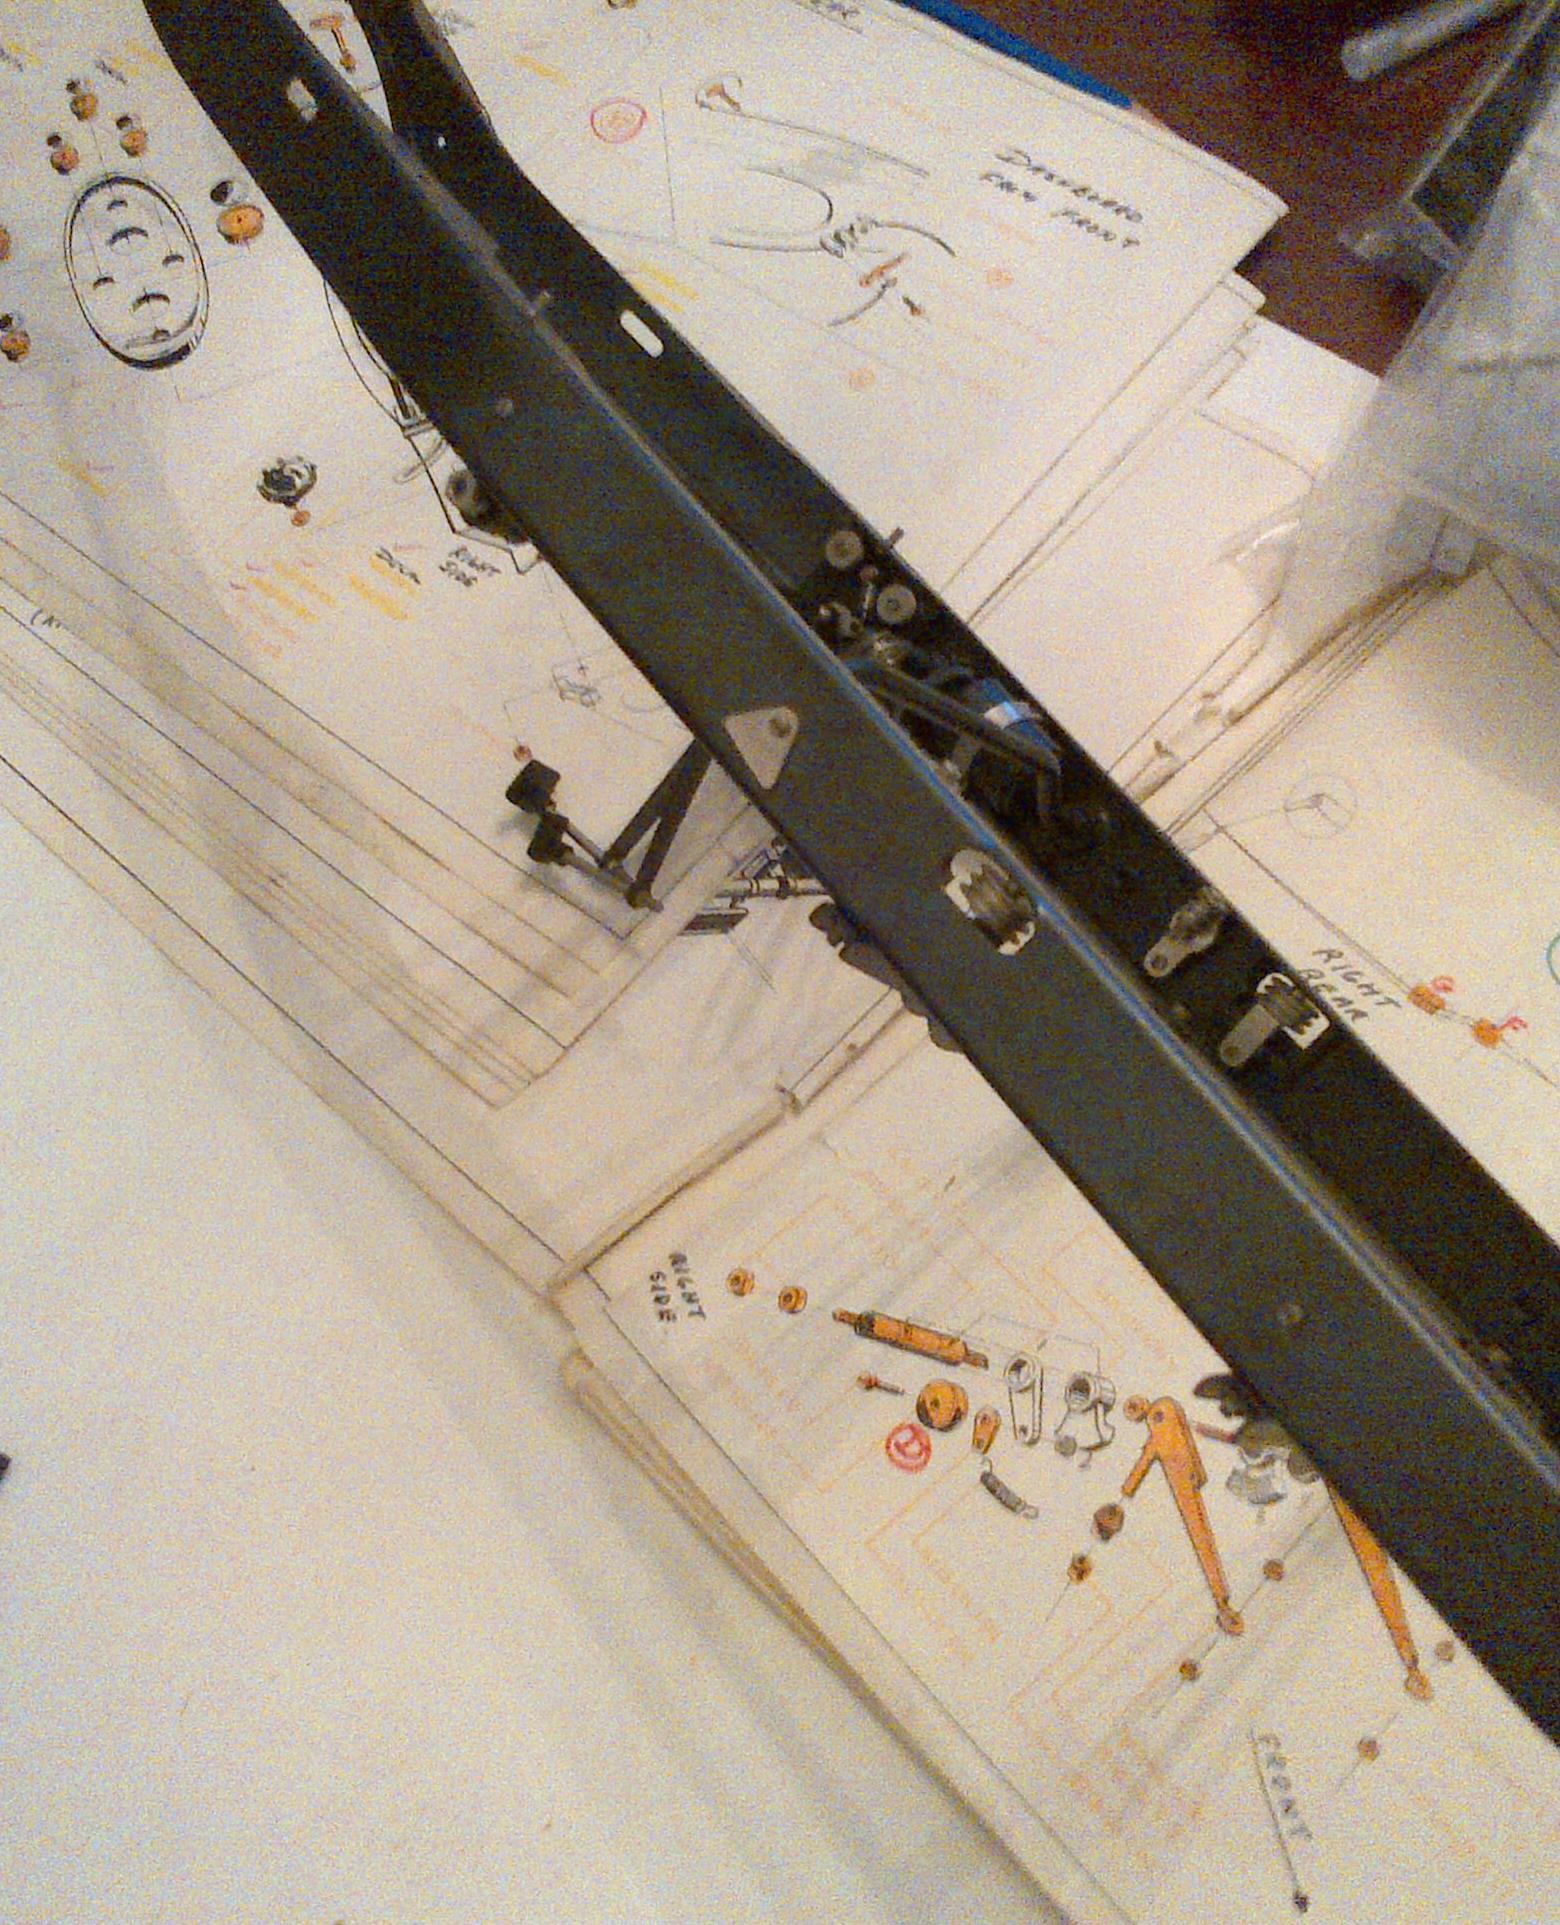
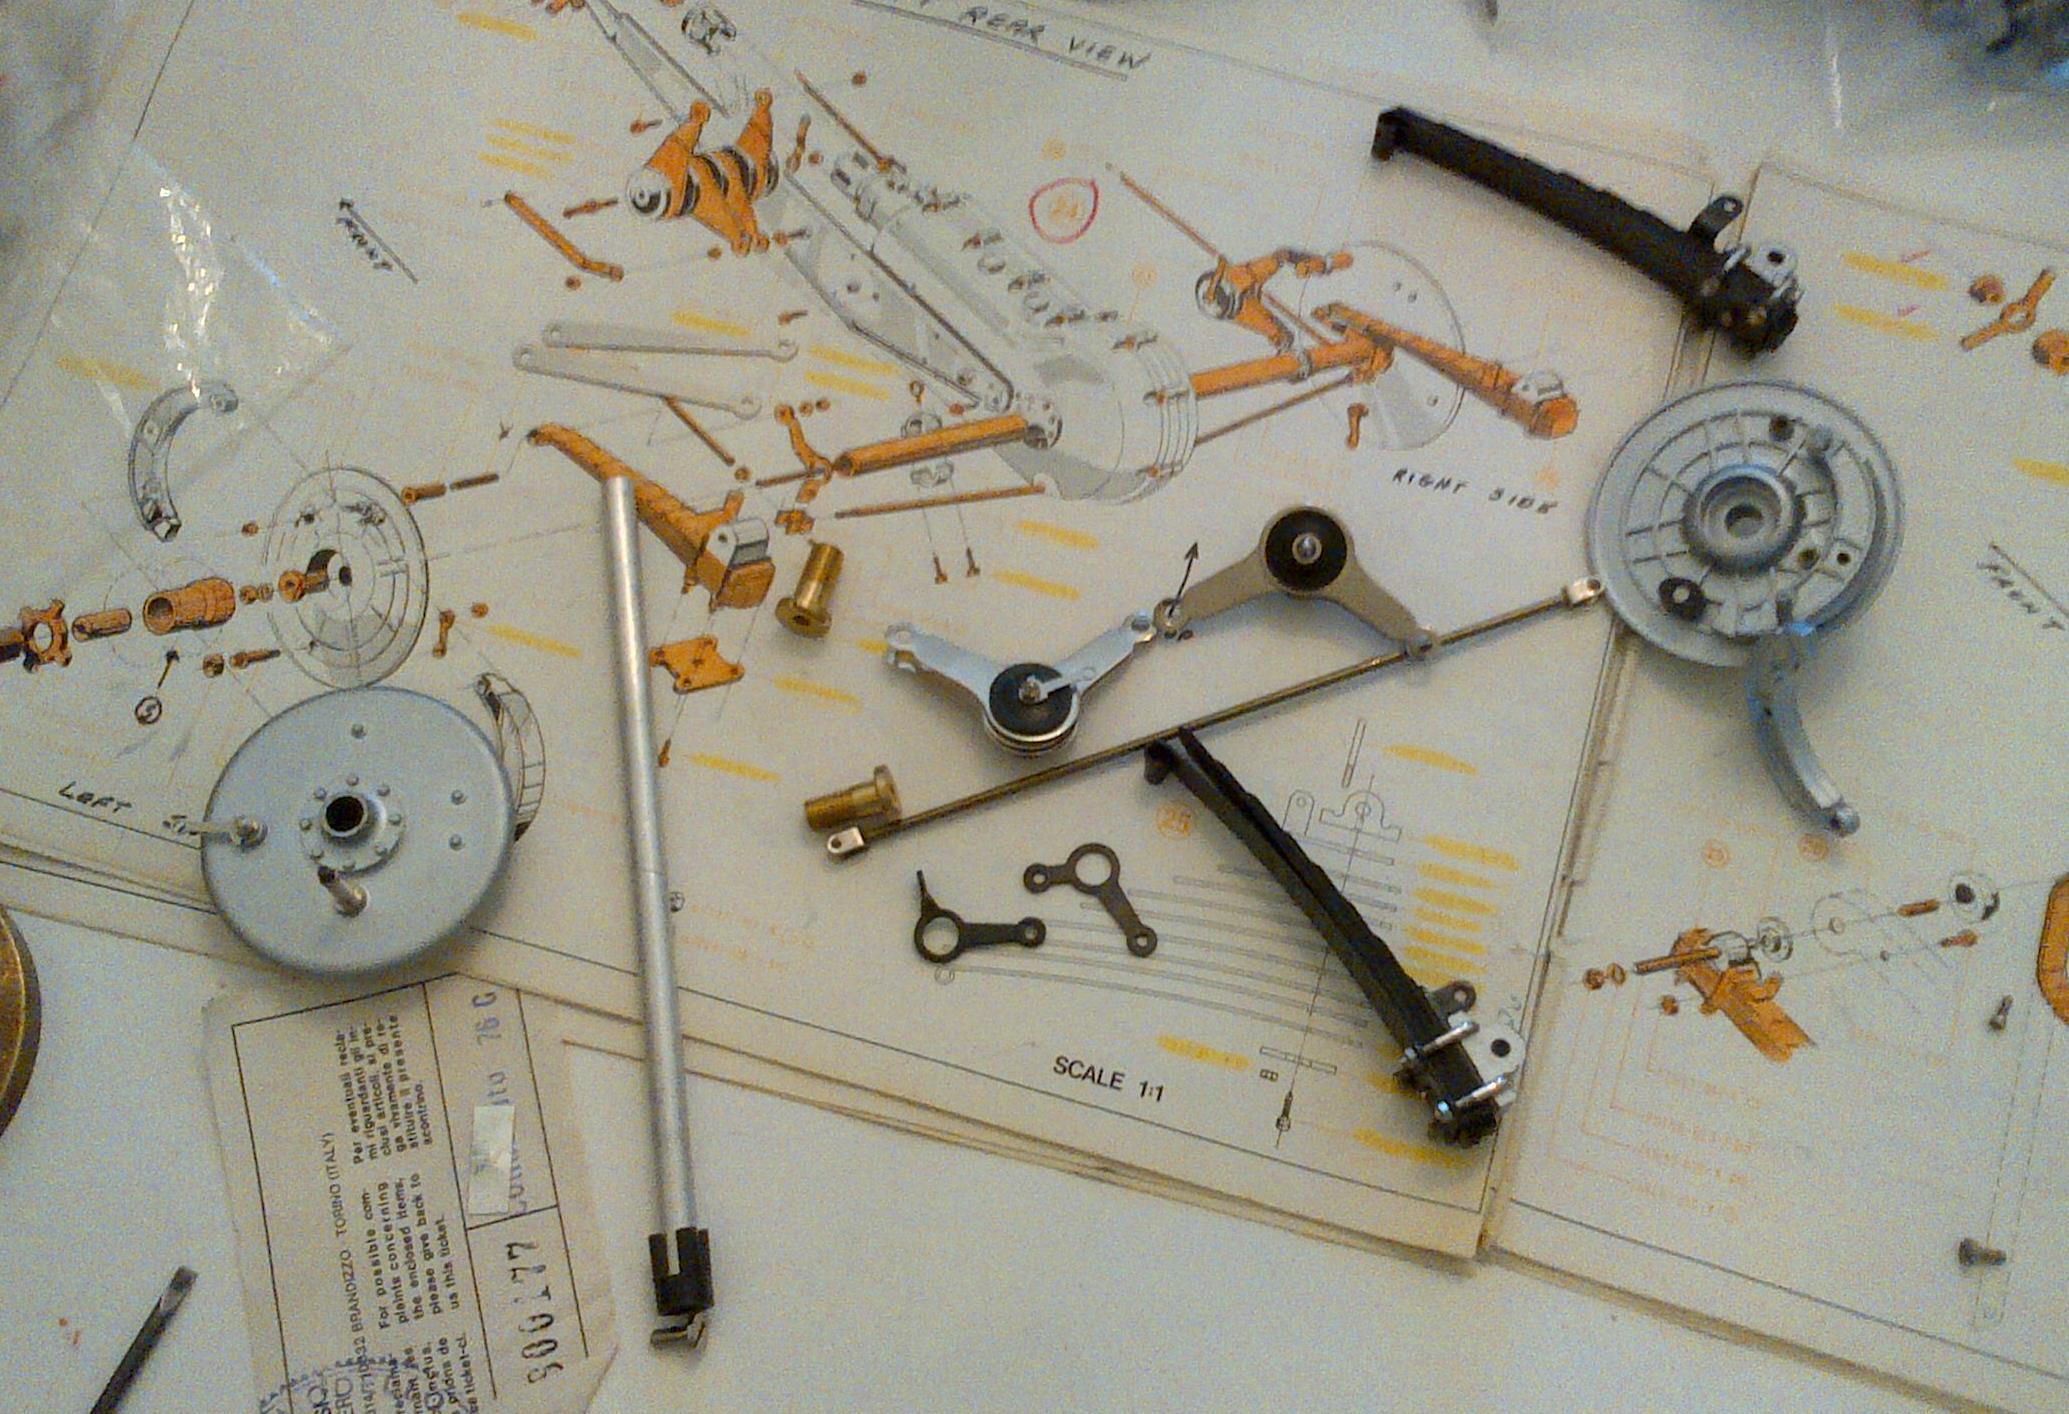
Differential and Rear SuspensionThe differential was completely assembled and seems to be working perfectly. Once it’s connected to the drive shaft, you will absolutely amaze anyone who sees the model in action. With the rear wheels lifted, you can turn the crank at the front of the car and watch all kinds of things happen. With one of the engine heads removed, you can see the pistons going up and down, the fan turn, the drive-shaft turn and one of the wheels turn. On the other hand, you can turn one of the rear wheels by hand and you’ll see the other turn on the opposite direction. It’s really a neat piece of modelling. |
||
|
||
| Looking carefully at the picture, you will see that this is kit number 177 in the series of K76 kits. That little piece of paper was on the outside of the seal when the kit came from the factory. The original owner did a good thing keeping that tag. It shows that this is, indeed, one of the earliest kits that came from the factory. As a curious reference to this, my friend at Euromodel in Como, Italy, was on his first job when he was the one to fill the Pocher boxes at the factory in the late sixties and early seventies. He now makes some of the finest ship models in the world. | ||
Front SeatsThe last thing that was done on the model was the attachment of a couple of brackets to the front seats. It’s a shame because while attaching on of them, he broke off one of the legs. It can be easily replaced with something else but the part should never have been installed in the first place. it will have to be removed to install the upholstery. It should be installed after the upholstery, not before. |
||
|
||
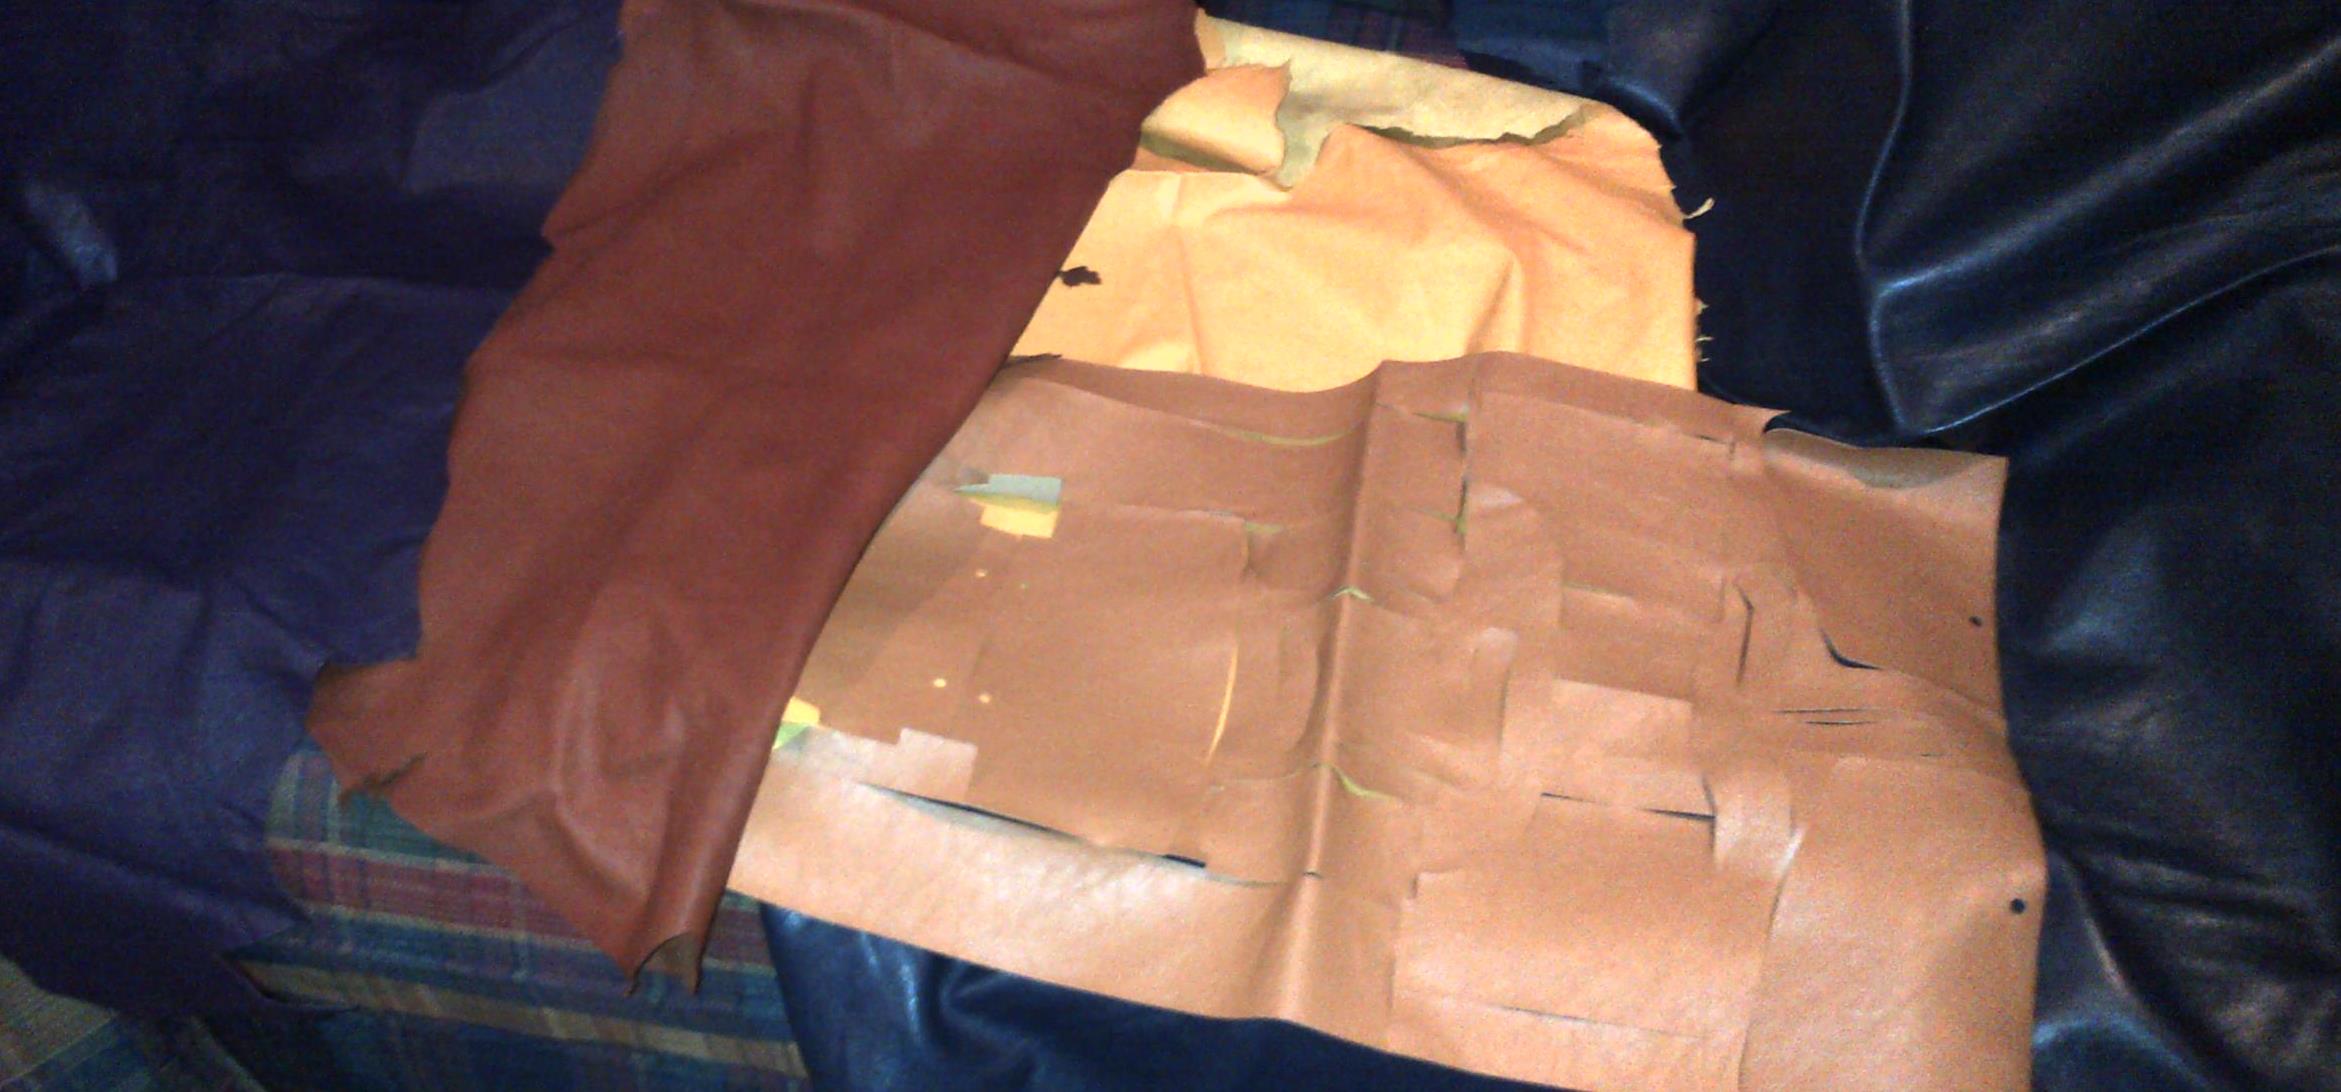
Body PanelsTypical of so many Pocher kits that are started and then sit languishing for years, none of the body panels were attached to the chassis. There’s a lot of work to be done to fare, fit, sand, paint, and polish the various panels and this the really fun part of these models because anything goes at this point. In fact, since we are at it, I don’t believe in building models to be exact reproductions of real vehicles. I prefer to become a designer and play around with interior and exterior colors, based on what I have on hand. Because of that, I have snipped off little pieces of leather from a few pieces I have here and have put them in the kit, in the package with the fake leather that Pocher provides. Here’s a picture to show the relative sizes of those pieces to the Pocher one. |
||
|
||
|
The colors are awful in the picture but you’ll see they’re really cool when you get them. I spent twenty years in the fashion business and I know where to get excellent skins for these models. Of course, they’re for sale but, for $50, you won’t find a more creative after-market part for your models. And, considering there’s only one skin per color, you will have an absolutely exclusive model.
Happy Modelling! Rick Shousha |